I have received several questions about the TinySA. So, just a little history and overview of the hardware of the TinySA before I get into the settings and actual use.
 |
TinySA Main Menu
|
After I joined Home Brew Test Equipment in Groups.io, I became interested in a series of posts by Erik Kaashoek detailing a SpectrumAnayzer he was building using mostly small modules that are available on E-Bay. The original version covered up to around 2GHz. One of the hardest parts of this build was a simple to construct 1st IF filter. Erik then came up with a simpler design that would cover up to a couple hundred Megahertz, using inexpensive, readly available parts. It is based on a couple SI4432 wireless transceiver modules.
https://www.silabs.com/documents/public/data-sheets/Si4430-31-32.pdf
These are basically a complete SDR transceiver in an about 1 cm. square IC, and cover a frequency range of 240 to 960 Mhz. They are designed for digital data transmission in applications such as remote time pressure monitors, therefore very inexpensive. There are several different modules, with support circuitry available for well under $5. The other thing that simplifies the design, is using a 433 MHz. 1st. IF, where Erik could use readily available 433 MHz SAW filters to obtain required selectivity. I had attempted to copy portions of the design, but without much experience or equipment suitable for use above the HF range, I ran into several problems. I decided to just wait and see what others finally came up with. And, I am really glad that I did. When I saw the unit was prduced by Hugen, I jumped at the first production run. Hugen has done a fantastic job with his several versions of the NanoVNA, and I am very satisfied with the units I have from him.
The easiest way to describe a Spectrum Analyzer is a wide band receiver with a visual diaplay of signal strength over a selected frequency range. In most simpler designs, they use a 1st. IF higher than the range of the instruent to reduce problems with images. In the case of the TinySA this is 433MHz. The primary frequency response of the TinySA is .1 to 350MHz. It also has an additional range of 240 to 960 Mhz. , but with several major limitations. Here is a block diagram of the basic TinySA RF stages. In the description of operation, I am going to indicate menu selections by using the format [MENU ITEM] .

For the default SA [LOW input] mode the signal comes in the LOW connector and goes through a low pass filter and variable attenuator to a mixer. The first SI-4432 is now configured as a transmitter and produces the correct local oscillator signal to produce the desired 433 MHz. IF. This signal to go to the band pass filter. The second SI-4432 is configured as a receiver tuned to 433 MHz. Its internal DSP can be configured to different bandwiths from around 2.6 kHz. to over 600 kHz. , this can be set through the Resolution Band Width [ RBW ] menu. In receiver mode the SI-4432 also produces a Receiver Signal Strength Indicator value (RSSI) whcih is read by the microcontroller. This is converted to the proper value depending on the unit type selected and displayed. The LO signal is also brought out to the HIGH connector for use with an external tracking generator.
Another mode is [HIGH input] , where the first SI-4432 is set to receiver mode and tuned across the selected frequency range. This can cover from 240 to 960 MHz. Since this goes directly into the through the HIGH connector SI-4432, there is no filtering or attenuation. This can lead to images and other unwanted signals showing up in the display.
The unit can also be used as a signal generator. In the [LOW output] mode the unit has a frequency range of .1 to 350 MHz. The signal goes through the low pass filter and out the LOW connector. Using several different menu items, you can set frequency [FREQ], [SPAN] and [SWEEP TIME], adjust the output [LEVEL] from -76 to -6 dBm. You can also select several types of [MODULATION], [AM 1K],[ AM 10K], [NBFM], [WBFM]. You can get a 240 to 960 MHz. signal out the HIGH connector when in the[HIGH output] mode, but there is no filtering of the signal, so it is rich in harmonics. The options are similar but[LEVEL] can be set from -38 to +13 dBm, and there is no AM modulation available.
There is also a [CAL output] mode that brings a calibration square wave selective in steps from 1 to 30 MHz. out to the HIGH connector. This signal is used fr the self test mode.
There are quite a few menu options available, and I will not go through all of them. I want to hit on some that I found to be useful or intersting. More information on the menu tree and other information can be found at https://tinysa.org
The menu structure is very similar to that of the NanoVNA, you can use the selection wheel. push button or the touch screen for most functions. I prefer the touch screen for most things, but find the selection wheel seems to work a little easier for oving markers around.
One of handiest things I found are the presets, You can store up to 4 custom preset frequency ranges, then select the desired from a menu. There is also the default full range to choose from. Unfortunatly they are only listed as 1 through 4, can't do a custom label, but I guess you can't have everything.
Frequency [FREQ] selection can be set by either setting a [START] and [STOP], or [CENTER] and [ SPAN]. Either one works, and it dependson on what you are doing for the best method to use. All of them bring up a on-screen display similar to a calculator, which makes it very easy to make the desired setting. Under the [FREQ] menu you can also set the [RBW] for the measurement. There is also an option for [ZERO SPAN] which sets it to a single frequency and the unit functions somewhat like a Frequency Selective Voltmeter.
There is also an option for [SPUR REMOVAL]. Since the PLLs in the SI-4432s and mixer products can generate spurs. Multiple readings are taken with the IF and or LO frequencies moved around and combined to help remove them. This will also increase the sweep time.
Well, I think that is enough for now. I will continue next time with some of the options available for display of the data.


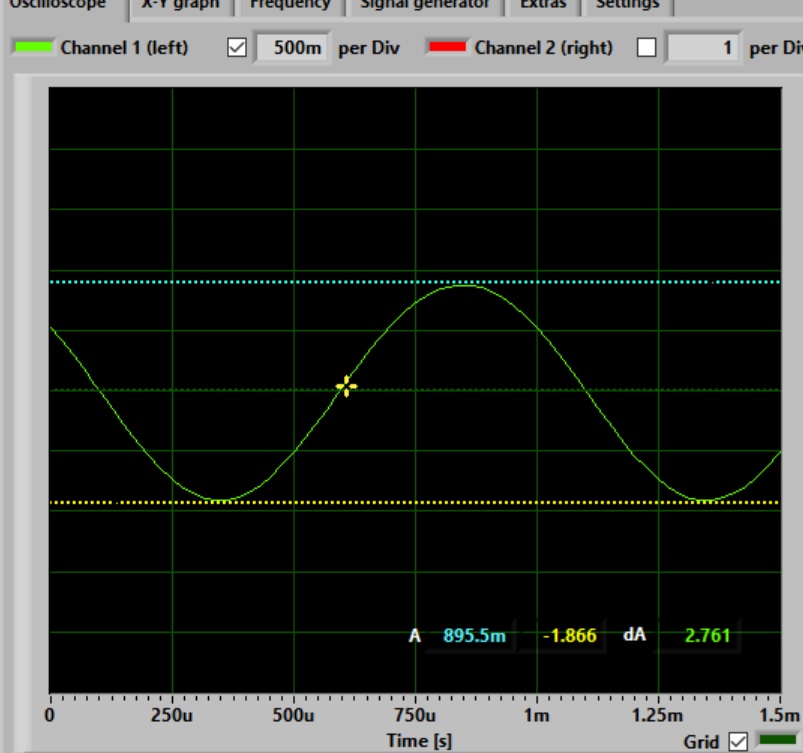

 The log display makes it look noisier at the higher frequencies. But, if you look at the response you see that the noise level is fairly constant across the whole range.


