Unfortunatly I was not able to make it to FDIM this year, but was able to watch the streamed presentations. All of themwere good, but the one tht interested me the most was Farhans' DAYLIGHT RADIO. The design is interesting because the input and ouput impedances of the different stages were not all designed to be at 50 ohms. This can make the design a little easier in some cases.
Farhans' design is for an all analog system including the VFO. Not sure if I will go that way or use a micro-controller and a SI 5351 instead. There are some ideas I want to try that would require the micro-controller. But if everything is in modules, they can be swapped out with the analog stages as desired. If I went with the Analog VFO I still have enough parts to use one of the small frequency counter boards I built up years ago.
http://kv4qb.blogspot.com/2015/03/dl4yhf-frequency-counter-re-package.html
Farhan resently uploaded a hard-copy of his presentation to his web site. https://www.vu2ese.com/index.php/2022/08/04/daylight-an-all-analog-radio/ This has a lot of good information about some of the considerations that went into the design.
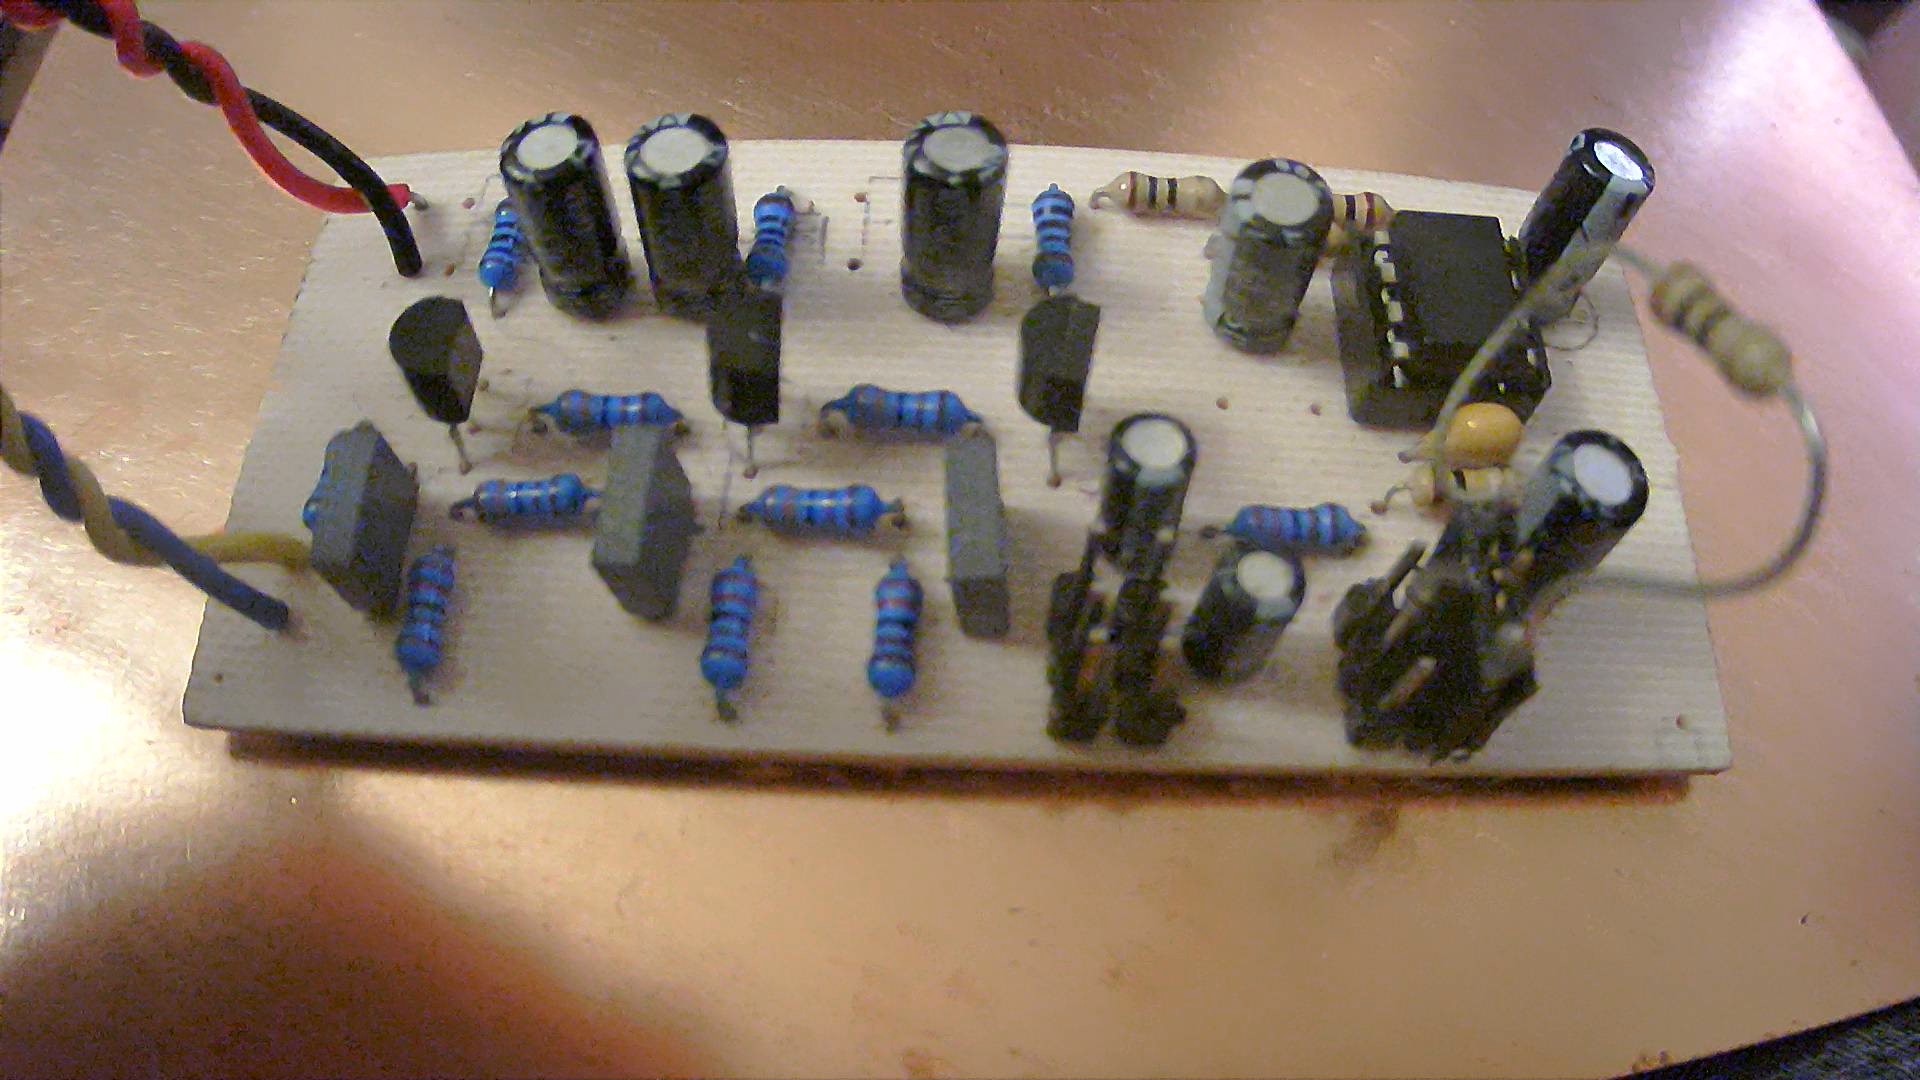
Lets start with the AF Filter and amplifier. Farhan has a nice desription in his presentation so I will just ashow his schematic. Everything is the same except I am using seperate opamps for the AF amplifier, and the product detector. Because of this I shorted the unused opamp + input to the common reference used by the AF amplifier, and the - input to the output . This is left to float, and as just a precaution to prevent any possible instability of the unused opamp from affecting the AF amp.

I laid out the board using through hole components, but I might make another using MUPPET style, or shrink it down even more and use SMD components.


This board turned out pretty nice, so now I can finish the layout of the product detector and balanced modulator board, and get them built.
With as long as it takes to get some of the components these days, it is nice to have several home brew projects going. at the same timr. And speaking of home brew, I have a two gallon batch of beer ready to bottle.. Thats always handy to have on hand when it takes toooooo long for the electronic components to arrive.
No comments:
Post a Comment